Almost-Monthly Blogs ⟡ Join the Newsletter ⟡ Free PDFs


I still remember the first time I landed in Japan. As soon as I stepped off the plane, the sweet scent of floral air and humidity hit me like a ton of bricks. It was so immediately different from the dry California air I was used to that it was like I’d stepped into another world. And I was thrilled, but I had no idea what to do.
Luckily enough, my first visit to Japan during high school was a group trip led by my Japanese teacher. At 16 years old, I couldn’t imagine doing everything required to visit Japan by myself, let alone guide others. There was money exchanging to do, JR passes to acquire, and a knowledge of navigation that I simply didn’t possess; but I didn’t have to do it alone.
3 years later, I studied abroad in Japan for a year and had plenty of time to figure it out. And living and working here for the last 4 years, I can safely say that I’ve figured out how to get around Tokyo–and I’ve picked up a few great hacks along the way.
If it’s your first time visiting Japan, knowing what to do can feel overwhelming. But whether you’re coming in through Haneda or Narita, you can follow my top tips for your first time visiting Japan!
This post may contain affiliate links. If you click one, I may earn a small commission at no cost to you.
Before you Leave
If it’s your first time visiting Japan, you might be awash with anxiety. What to bring, how to communicate, and how to have the best time may all be on your mind! But never fear, you can prepare for your trip with these top tips!
1. Buy Yen Ahead of Time
Buy some yen. Yes, you can exchange cash at the airport, but if you have time, sort it out beforehand.
Since the 2020 Olympics, most businesses accept credit cards in Japan. But there are some family-owned restaurants, shops, and businesses that don’t accept card. Plus, topping up your IC card (for transit) requires cash.
I recommend you have at least ¥20,000 on you to start. That’s about $125 with the current exchange rate. I would personally buy more than that, since cash is still accepted just about everywhere, but it’s up to you.
If you need to withdraw more, you can go to a convenience store like Lawson or Seven Eleven to withdraw currency from the ATM. If your card doesn’t have foreign transaction fees, even better. You can alternatively exchange dollars (or your currency of choice) at the airport, usually for a fee.
2. Reserve an eSIM or Pocket Wifi
There’s nothing worse than realizing you’ve arrived in a country without cell service. Arrange a SIM card or pocket wifi to pick up or download at the airport, or even before you leave your home.
Nowadays, eSIMs are super accessible, so there’s no reason not to reserve one in advance. Or just use your phone plan on international mode! This is where I’d plug an eSIM or pocket wifi company if I had an affiliate code, but I don’t! However, we did use Mobal as our eSIM when we moved here, so there’s a start. JapanTravel has a great list of different eSIMs you can get for your trip, too.
And while you’re on your phone, download LINE. You may not end up using it, but it can be useful for getting reservations at busy rotating sushi (kaitenzushi) restaurants, or small discounts at drugstores.
3. Pack Light

Try packing as light as possible to make room for your souvenirs and make your life easier. You’ll have to carry your luggage all over the place, especially in Tokyo. That means stairs, crowded train platforms, and depending on the season, snow and rain.
Try bringing only the essentials; it’ll be much easier on you. And if you do happen to forget something important, there’s the option of buying it there. Hotel rooms in Japan are quite small, so it’ll help you keep your space clear.
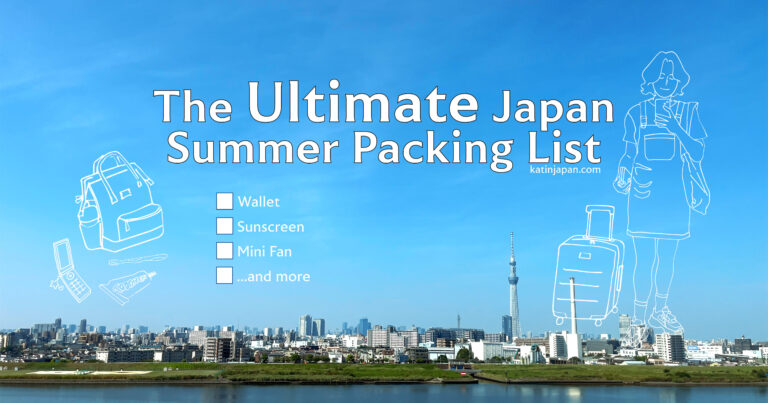
If saving money is more your style, packing appropriately for the season is the play. For example, if it’s summer, bring your sunhat, sunscreen, and poncho or umbrella. In winter, don’t forget your coat, boots, and gloves.
Speaking of sorting things out beforehand, download the Quintessential Japan Packing List and read the blog for my best tips on packing for each season!
4. Download the Quintessential Japan Packing List PDF

Join the Kat in Japan Newsletter and gain access to the high-resolution Quintessential Japan Packing List PDF!
PLUS Get the Japan Travel Guide Checklist and The Ultimate Japan Summer Packing List – ALL FREE! Don’t see it? Check your spam folder.
Still having trouble? No worries: download the PDF from my Ko-Fi storefront.
5. Book Your Stay
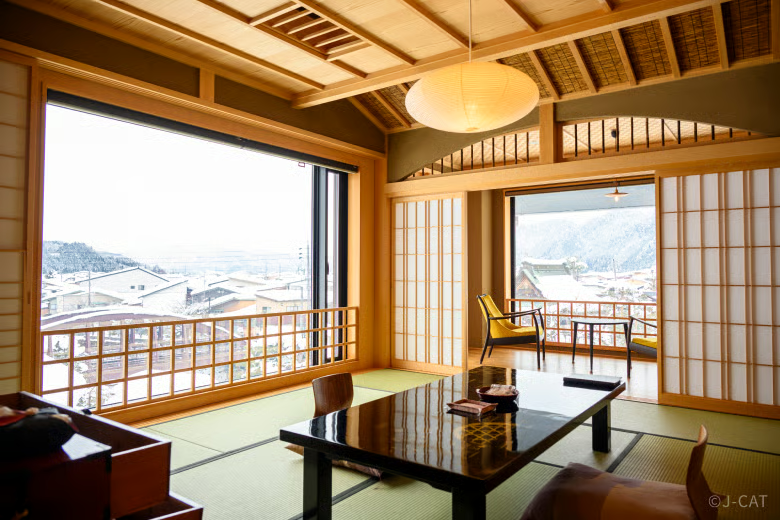
Before you can plan anything else, you need to book your stay in Japan. There are tons of different types of accommodation from ryokan (traditional Japanese inns) to standard chain hotels.
Wabunka books high-end experiences and stays based on traditional Japanese culture. From Tokyo to Kyoto and places in between like Hakone and Gifu, you can stay at ryokans enriched with deep history. Wabunka also has filters to search by specific needs like vegetarian/vegan, wheelchair accessibility, and more.
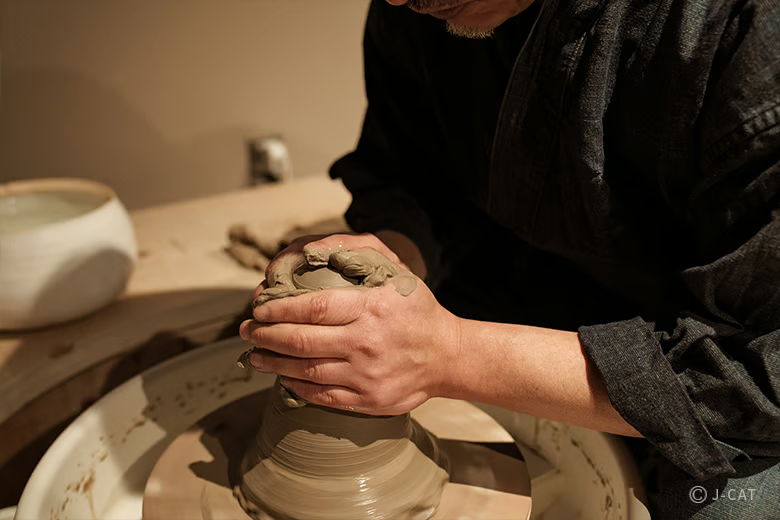
For a luxury experience, stay at Auberge TOKITO in Tokyo, where you can experience a multi-course dinner and hand-throw custom pottery.
Or stay at Yatsusankan, a historic ryokan where you can learn the history of sake brewing in Gifu, near Kyoto. Its gorgeous winter scenery will draw you in, and a tour of the town’s famous Watanabe Sake Brewery will keep you fascinated through your stay.
6. Get an Itinerary
If you don’t know where to start when planning your first Japan trip, I’ve got you covered. Check out my Japan Travel Guide: Culture Edition, so you don’t miss out on the spectrum of sights Japan has to offer. It’s a great place to start for your first time in Japan.
You’ll get a downloadable PDF of a 10-day itinerary, complete with a travel checklist and guide detailing when to take the Shinkansen bullet train. Follow along with the blog for more information.
Download the Japan Travel Guide Checklist PDF
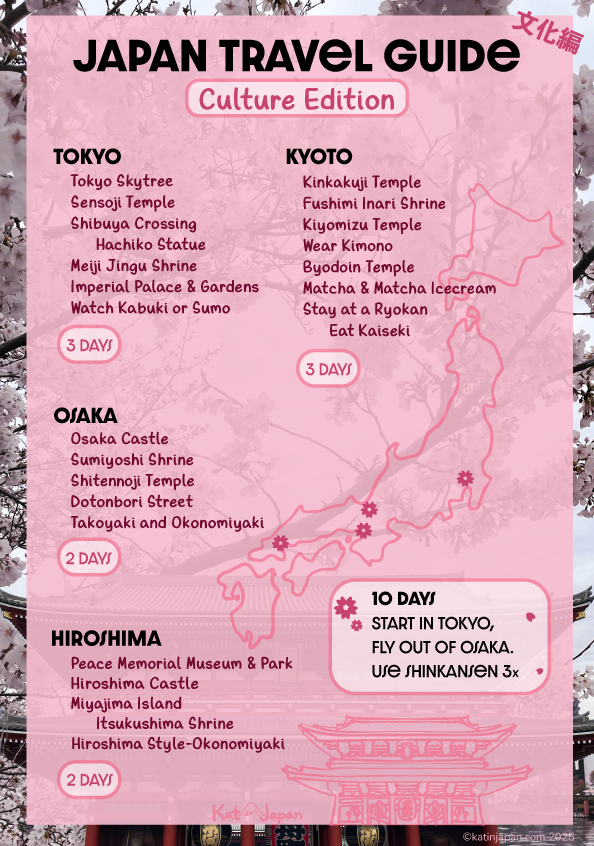
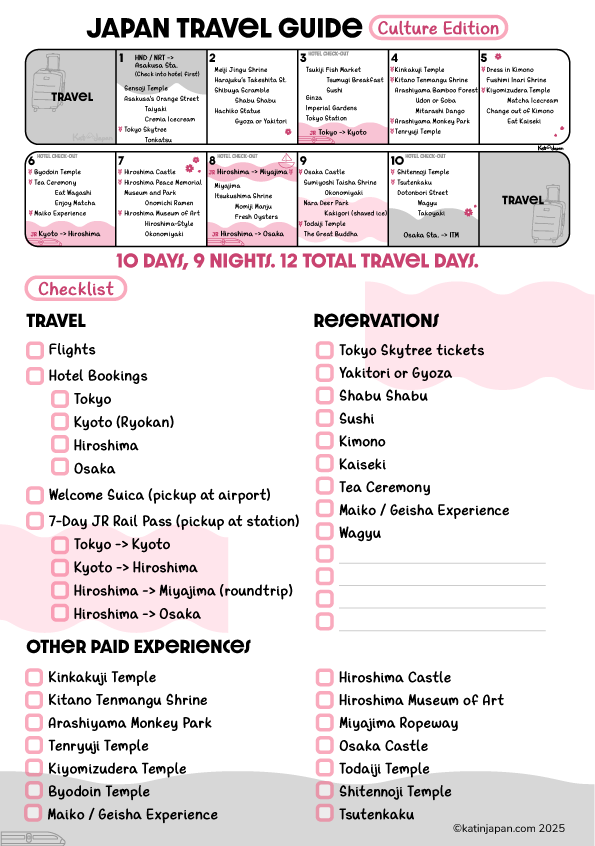
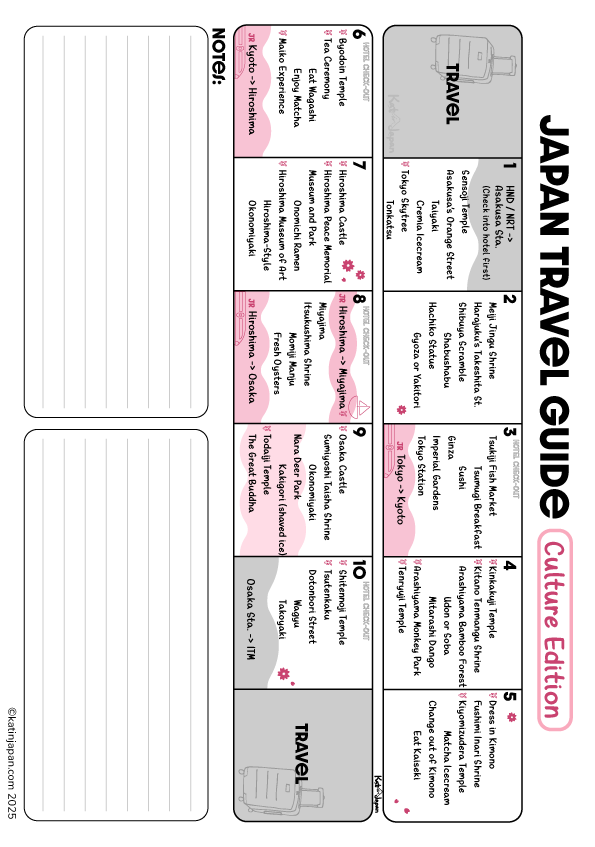
Join the Kat in Japan Newsletter and gain access to the hi-resolution, printable 3-page Travel Guide Checklist PDF and the Quintessential Packing List FREE!
7. Learn Key Phrases in Japanese
Check these 10 phrases before you land. If you’re interested in learning more before you go, check out how to read and write Hiragana in just minutes, so you aren’t caught off-guard!
You should know these 10 key phrases:
- Hello: こんにちは konnichiwa (koh-knee-chee-wah)
- Excuse me: すみません sumimasen (sue-me-mah-sen)
- Please: おねがいします onegai shimasu (oh-neh-guy-shee-mas)
- Please give me~: 〜ください。 ~kudasai (koo-dah-sai)
- Please give me this: これをください。kore wo kudasai (koh-ray oh koo-dah-sai)
- Thank you: ありがとうございます arigato gozaimasu (are-ree-gah-toe go-zah-ee-mas)
- I’d like (to order~): 〜にします ~ni shimasu (knee shee-mas)
- I’d like to order this: これにします kore ni shimasu (koh-ray knee shee-mas)
- Where is the bathroom?:トイレはどこですか。 toire wa doko desuka (toe-ee-ray wah doh-koh des-kah)
- Please help me: たすけてください。tasukete kudasai (tah-soo-keh-tay koo-dah-sai)
These are the basic numbers from 1-10, plus counters. For example, “I want 5 donuts please” = “itsutsu no donatsu kudasai.” (「五つのドーナツください」)
- 1 ichi (hitotsu)
- 2 ni (futatsu)
- 3 san (mittsu)
- 4 shi (yotsu)
- 5 go (itsutsu)
- 6 roku (muttsu)
- 7 shichi (nanatsu)
- 8 hachi (yattsu)
- 9 kyu (kokonotsu)
- 10 ju (to, jukko)
Finally, check these 7 question words. Just add “desuka” (dess-kah) to the end to ask a question.
- What なに nani → nandesuka?
- Where どこ doko → dokodesuka?
- When いつ itsu → itsudesuka?
- How much いくら ikura → ikuradesuka?
- Who だれ dare → daredesuka?
- Which どっち docchi → docchidesuka?
- How どうやって douyatte → douyattedesuka?
- Why なぜ naze → nazedesuka?
I’ve included a helpful pronunciation guide here for English natives. For more on how to read and pronounce Japanese, check out my lesson on learning Katakana.
At the Airport
1. Get your Pocket Wifi or eSIM
Pick up your pocket wifi puck, or simply activate your eSIM before you leave the safety of the airport wifi. Doing this before you leave ensures you don’t get stranded if it doesn’t work the first time.
When I studied abroad, I did not have this figured out. I printed my itinerary before I left the US, checked my phone one last time before leaving the airport, and hopped on a train to Shinjuku station with nary a signal. Luckily, I could see my dot moving on Google Maps, but I didn’t have a SIM or pocket wifi, or anything. I used the hotel’s wifi to navigate to dinner, but my friends can attest that I got very lost in Shinjuku that evening.
So learn from my mistakes: don’t wait ’til the last minute to arrange an eSIM.
2. Exchange Your Money

Hopefully you’ve prepared some cash for your trip. Most places, especially in Tokyo, take card nowadays, but not even ten years ago this wasn’t the case.
For smaller shops, shrines, and charging your IC card, you’ll want a bit of cash. If you forgot to order yen before leaving the country, luckily you can exchange your money at the airport, or withdraw from a convenience store ATM.
3. Have Your Luggage Delivered (If Needed)

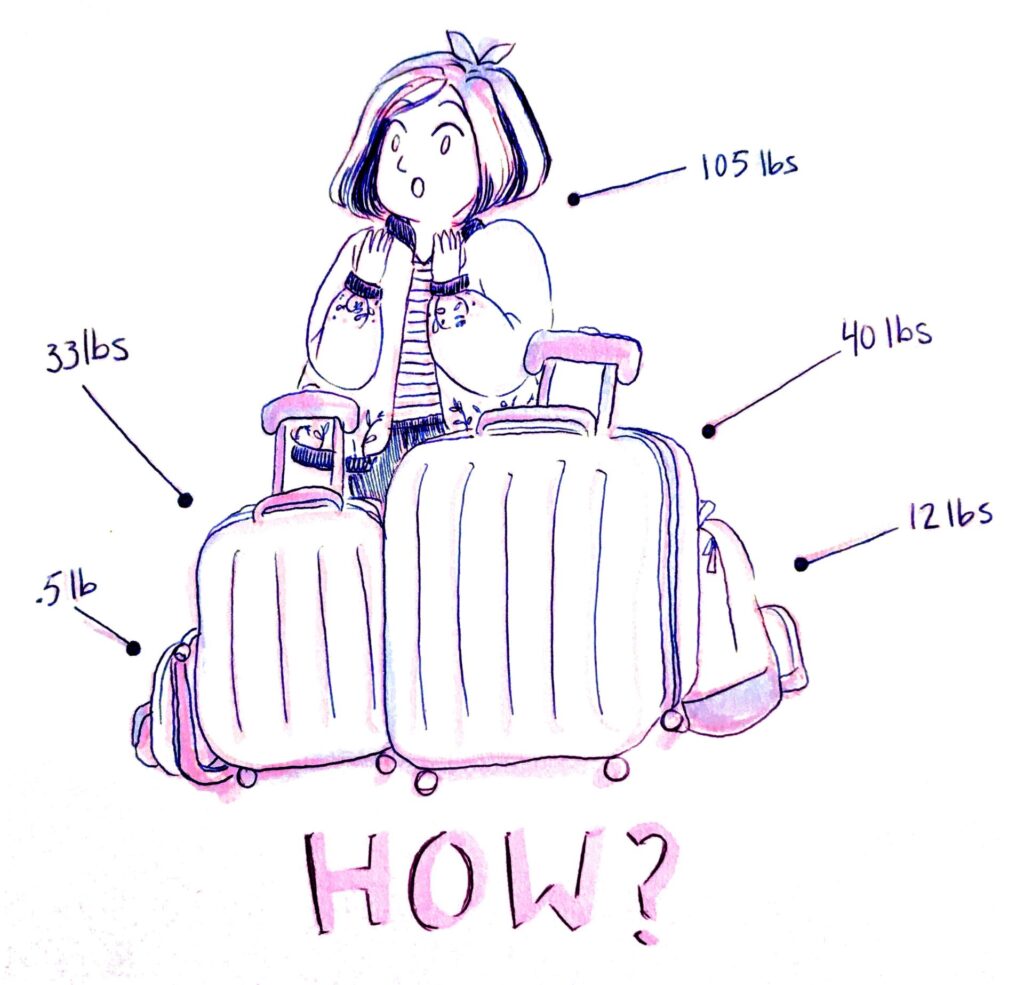
Go to a Yamato Transport (Kuroneko) service counter in Haneda or Narita to have your baggage delivered. You’ll need to fill out a form and pay a fee, but depending on where you’re staying, they can deliver it same day. Like, what fantasy world are we living in?
That means you can actually avoid lugging your bags around the city until you check in to your hotel. I wish I knew about this service 9 years ago when I studied abroad and had three huge bags!
4. Arrange Transportation
If you’re confident in your travel abilities, you can play some of this by ear. But don’t be like me on my first solo arrival to Japan.
I took the train to Shinjuku station directly from Haneda Airport, but failed to find the taxi depot in its labyrinth. I spent 20 minutes walking around in 85˚F weather thinking I could find my hotel with no wifi–just a moving dot on Google Maps. Then I wandered around haplessly until a taxi pulled over and took pity on me. He was really nice, thankfully, but I felt jet-lagged and downright silly.
So, to avoid this, you should know what types of transportation are available and which you want to use. Most importantly, you should plan your route in advance.
Bus
You can take an airport bus from Narita or Haneda. You can book a bus ticket ahead of time or go up to the bus terminal counter at either airport. The clerk there will help you find the best bus route.
Bus rides vary in cost, but are generally ¥500-¥2000. That’s very reasonable, and you’ll even have a place to put your luggage.
Taxi
Taxis are always comfortable, plentiful, and readily available at the airport, but you may be paying a steep price. A taxi from Haneda to Tokyo proper costs around ¥10,000. That’s really steep compared to the cost of taking the train or bus. But it is the most straightforward and will get you as close to your destination as possible.
Just have your accommodation’s address in both English and Japanese ready to show the driver. Taxis take credit card these days, so you should be good to go.
By the way, Uber exists in Japan, but if you have a Japanese phone number, you can reserve taxis with Go (not sponsored), which can be cheaper. These apps will come in handy if you plan on taking several taxis while in Japan.
Train
This is one of the most economical options, and you’ll probably be using the trains while in Tokyo often. However, if you’re carrying heavy bags, be prepared for a sweaty ride, lugging them to and fro.
Getting an IC Transit Card (Suica/Pasmo)

There are two major types of trains used in Tokyo: The JR Lines and the Metro. You can use a Suica card on either, but you can get a slight discount on the Metro if you use Pasmo, their special IC card.
If you plan to take the train, get a Suica IC card on your phone’s wallet, or a Welcome Suica. Welcome Suica cards are available at a limited number of stations, but you can find them at both Narita and Haneda airports.
Unless you’re using your phone wallet, to purchase and top up IC cards, you need to use cash. The Welcome Suica is only usable for 28 days once you buy it, so if you’re staying longer than that, consider a different IC card. Pasmo also offers a Tourist Pasmo with the same caveats.
You’ll tap your IC card when you enter and exit a train station. If you take connections between JR and Metro trains, you’ll tap it again. Just follow the signage, or ask an attendant if you get lost or your card doesn’t work.
Pro-tip: Since you can use IC cards to pay for things at vending machines and convenience stores, use up your remaining balance on snacks or little things before you leave Japan!
At the hotel
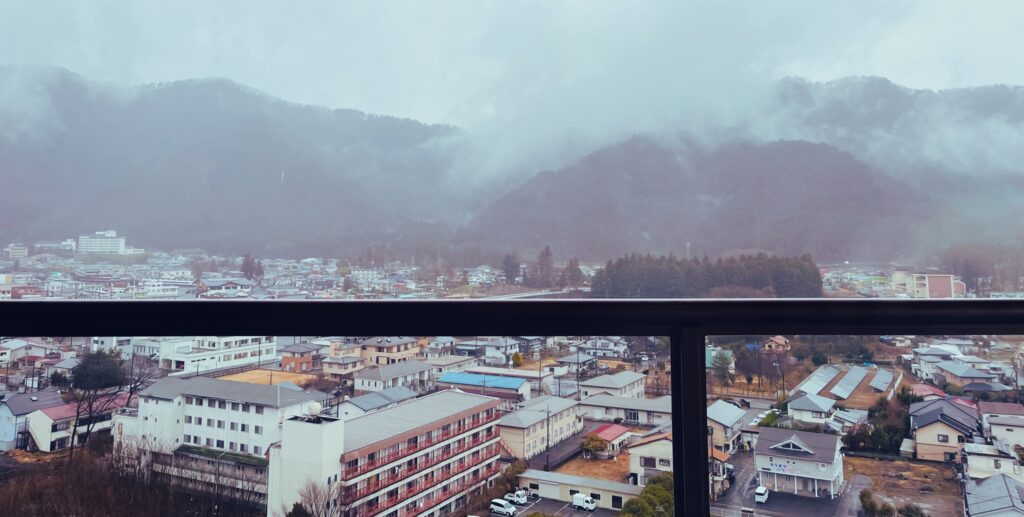
1. Drop off Your Luggage
Even if you can’t check into your hotel yet, you can leave your luggage with the hotel staff. Luckily, in Japan this is surprisingly safe. Just about any hotel will hold your luggage (even ones you’re not staying at). Just ask at the front desk.
2. Check in and Get Your Amenities
Some hotels have amenities and things like pillows at the front. Amenities range from free or purchasable drinks and snacks, free face masks, lotions, and other items like skincare packets, razors, hair ties, shower caps, and more.
At chains like SuperHotel, you can also pick up your pillow and pajamas at the front. All of this will be explained, but sometimes it’s hard to catch.
3. Take Advantage of the Continental Breakfast
Don’t skimp on breakfast, especially if you expect to be out all day. Luckily, the breakfast spreads at Japanese hotels, even budget ones, are pretty great. You can get normal continental breakfast staples like toast, yogurt, eggs, and (what passes for) bacon.
Plus, there are always Japanese-style options like rice, miso soup, fish, and salad. There’s usually a drink bar with options like coffee and orange juice, though some hotels just have vending machines. Like hotels in the States, you’ll bus your own tables after you finish your breakfast.
And if you visit a ryokan, make sure you’re on time to their breakfast and dinner services. You won’t want to miss them!
4. Try the Hotel Onsen
Some hotels in Japan come equipped with a bath or natural onsen (hot spring). Yes, you have to be naked to use them, but come on! It’s Japan. If you get a chance to try an onsen, please do. Just observe the customs: wash off your body and hair thoroughly before getting in the baths, and don’t dunk any towels in the water.
Also, bring a change of clothes, towel, and things like shampoo, conditioner, and a hairbrush that you want to use. If you have long hair, bring a clip or hair tie, too. If you know you want to try an onsen or sentō (bath house), do check their policy on having tattoos beforehand.
As you explore
1. Get your Japan Rail Pass
Japan Rail Passes, or JR Passes, as they’re called, are a great way to get around if you plan to visit multiple cities, like Tokyo, Kyoto, Osaka, and Hiroshima.
You can order your JR Pass online and pick it up at either airport. The date of activation doesn’t have to be the day you receive it, so you can plan for the number of days you really need.
If you skip the line at the airport, you can also pick up a JR Pass at major JR Stations like Ueno or Shinjuku. The JR Pass can be really great for getting some bang for your buck and seeing as much of Japan as possible because it isn’t limited to the Shinkansen! You can take JR local and rapid trains, the Yamanote line metro, and even buses throughout the city. There are a few exceptions, but it covers a lot of ground.
2. Get a Passholder and a Few Other Things
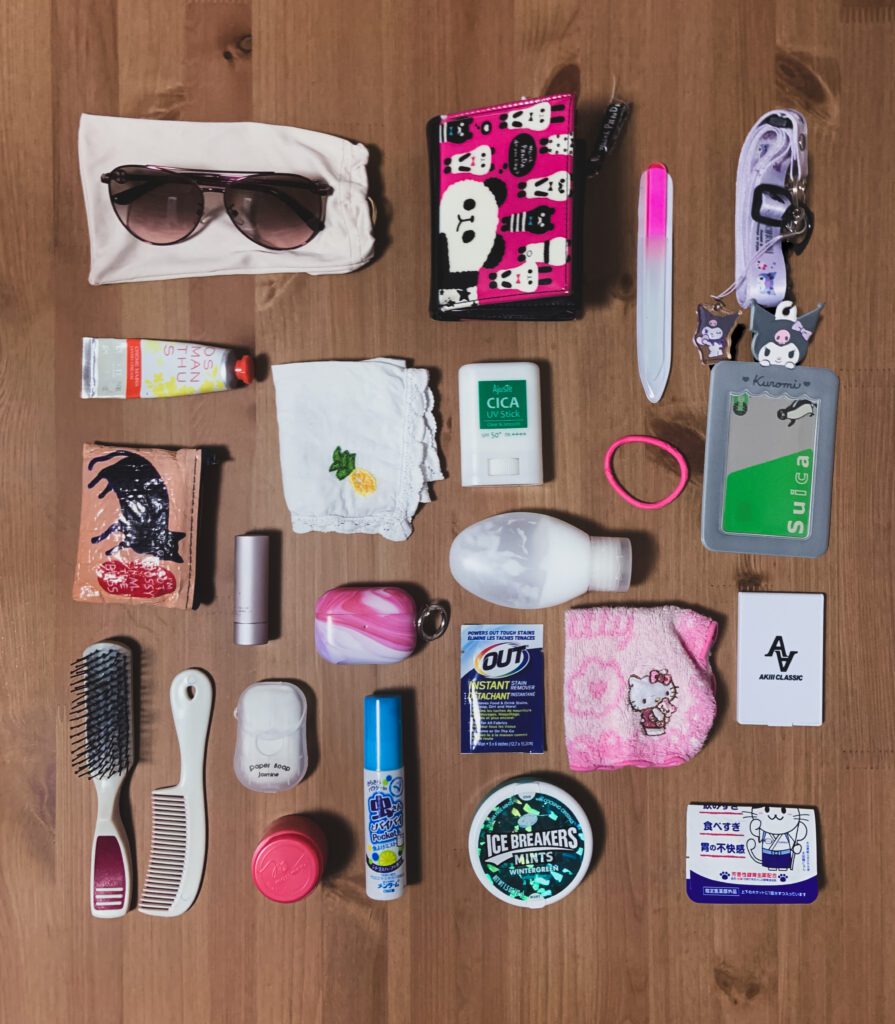
While getting a passholder isn’t necessary, it is nice to have. It makes tapping in and out of train stations easy without having to rustle around your receipts and dust bunnies.
I also recommend bringing or buying a small hand towel because most restrooms in Japan do not supply paper towels. You may even wish to carry portable soap paper or hand sanitizer, since some public restrooms don’t provide any.
3. Be Mindful of the Flow of Traffic
Depending on where you visit in Japan, the direction of pedestrian traffic changes; for example, Tokyo is opposite from Osaka. If you’re taking the escalator, be aware of leaving space for people to climb up, unless you want a few impatient, passive-aggressive sighs directed your way. And try to stay out of the way of bikes when possible (I still struggle with this).
4. Order Confidently at Restaurants
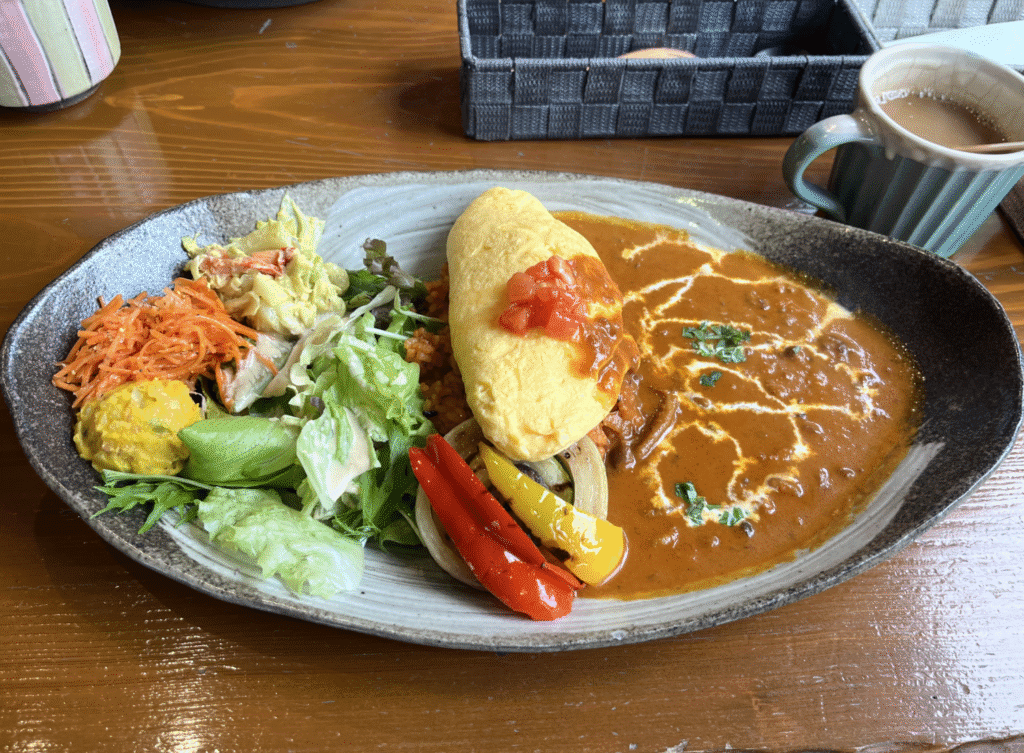
In Japan, waiters don’t automatically come to you after you’re seated. In some cases, you’ll need to flag them down by saying “sumimasen”, or if all else fails, “excuse me.”
Luckily, most places have a button or a tablet these days, so don’t worry. But if you visit an izakaya or smaller family-owned restaurant, you’ll need to use your voice. People are generally very accommodating, particularly in touristy areas like Tokyo. So pointing at the menu is okay, and if you can squeeze in an “arigato gozaimasu”, that’s appreciated, too.
5. Bring Extra Bags with You
In my opinion, you need two extra bags in your bag when you visit Japan: A tote bag and a plastic bag.
The tote bag is for shopping. Toss a foldable shopping bag in your backpack or purse. As the day unfolds and you buy trinkets and accumulate possessions, you’ll understand this one. Embrace becoming a bag-lady.
The plastic bag is for trash you inevitably end up with. You’ll probably get one as you buy food from convenience stores, so just keep it. There are trash cans hiding surreptitiously in most conbinis, but it’s better to have an option on the go.
6. Don’t Assume Something is Lost
If you visit a cafe or restaurant, you may notice an article of clothing, bag, or even a phone or wallet sitting out on a table. This isn’t a lost item. Most likely someone is marking the table as taken with their belongings.
Obviously don’t steal it, but don’t take it to a clerk unless it’s clearly a lost item. For example, if it has fallen on the ground or in a low-visibility area or ditch. Otherwise, sorry, that seat’s taken.
7. Be Respectful
This really goes without saying, but be conscientious when you’re visiting any country. Observe what the locals are doing, and follow suit. If you visit temples or shrines, for example, take pictures and participate, but try not to be disruptive or loud. This goes for riding trains, too. And if there’s a line, don’t cut into it. Much like the US, Japan has a culture of waiting in line for things.
Don’t throw your trash away on the floor or leave it in public restrooms. Though it’s hard to find trash cans on public sidewalks, many convenience stores have trash bins. You can ask a store clerk to direct you to them, and some will even take your trash if you ask nicely. Don’t stuff the already-full trash cans. Just… resist the urge. Seriously.
And if somewhere looks off-limits, ask permission before barging in. This doesn’t mean you can’t have fun or be spontaneous, but that you should care for the facilities and people around you. Same goes for your travel mates. Japan is a beautiful country, and it has its own rules, manners, and regulations. Do your best to be respectful, and you shouldn’t have any issues.
Final Thoughts
I’ve tried to compile my best top tips for your first time visiting Japan. I hope this helps as you plan an exciting trip. And for more ideas on where to visit in Tokyo, check out my blogs: 7 Must-Go Places in Ginza and 10 Best Things to do in Asakusa!
If you still have questions, throw them in a comment. And tell me, what do you want to know more about visiting Japan for the first time? Or what do you wish you knew?